Showing posts with label cheese. Show all posts

Saturday, August 13, 2016

Nonnetta's tomatoes and kinda-Caprese salad

Almost every Saturday, I start the morning with breakfast and coffee at my grandmother's (Nonna, who has been promoted to Nonnetta as a great-grandma to my kiddos*)

* yes, that's kiddos, plural. Baby girl joined the family almost 8 weeks ago, and big brother is almost 3! Yikes!

In the summer, these breakfast visits are made even more awesome by forays to Nonnetta's garden to pick fresh produce. Tomatoes, zucchini, basil, cucumbers, green beans, sweet peas, peppers... An absolutely glorious bounty. 

Nonnetta and her great-granddaughter (and namesake!) 💗

Nonnetta is the reason I love the smell of tomato leaves. Mmm, childhood nostalgia!!  Her tomato garden is amazing. She was growing heirloom tomatoes since before it was cool, using seeds brought over from Italy over 60 years ago (...but maybe don't tell Customs and Immigration about that).  She has a truly remarkable green thumb... When we developed a fondness for the Kumato varietal from the grocery store, she took some seeds and grew her own! Brilliant. 

Thanks to my most recent pregnancy, I have a few pounds to shed. What better way than filling up on tasty veggies and fruit? Instead of having a bagel and cream cheese for lunch, I whipped up this tasty little Caprese-ish salad. Behold!


Kinda-Caprese Salad
Serves one

• 2 medium tomatoes, as fresh as humanly possible, seeded and diced
• ~4 basil leaves, chopped (or torn by hand if you're lazy like me)
• 1 Babybel Light wax-wrapped cheese, diced (use REAL mozzarella for authenticity, instead of stealing your son's  snacks... If you want...)
• Salt and pepper, to taste
• Balsamic glaze**

Toss the first four ingredients together in a bowl. Top with a drizzle of glaze. Devour promptly. 

** I like using balsamic glaze since it's so nice and thick. Not gonna lie, I picked up this bottle at Dollarama. #momlife #neversaidIwasgourmet. 

On to more adventures while cooking for a family of four!

-Honeybee


Thursday, January 1, 2015

Savoury New Year's Day Waffles!

Happy 2015!!

I tried to entice some friends to stay the night after partying by offering up these tasty morning-after-NYE-party treats.  Nobody took me up on it (can't blame them... nothing better than sleeping in your own bed); even Hubs slept in QUITE late.  So G and I had a lovely breakfast, just us two!


These Savoury Dill & Cheddar Waffles are inspired by some that Ni made for the family one holiday morning.  Honestly, it's not much different from how I made regular cornbread... just enter a waffle iron!


The key here is Jiffy cornbread mix (America's favourite!!)  Yes, I am endorsing the use of a mix.  The ease afforded to you cannot be understated!  Go buy some, it's well worth the 50¢.

Savoury Dill Cheddar Waffles
Makes 3 Belgian-sized waffles (enough for two adults and a toddler!)
Adapted from the Jiffy box
  • 1 package Jiffy corn muffin mix
  • 3/4 cup milk
  • 1 egg
  • 2 Tbsp (1/8 cup) shortening, melted (or be like me, and use some of the rendered fat from making bacon!!)
  • 3/4 cup shredded sharp cheddar
  • 1/4 cup chopped fresh dill
  • 2 sliced green onions
  1.  Preheat your waffle iron.  Mine is really basic; it's either on or off (no temperature setting).  Spray with non-stick cooking spray or brush with melted butter.
  2. Mix the muffin mix, egg, milk and shortening/bacon fat until just combined (it will be lumpy).
  3. Stir in the cheddar, dill and onions.
  4. Pour/spoon about a 1/2 cup into the waffle maker.  I overestimated the first time and ended up with batter overload... try the "less is more" approach.
  5. Cook until browned.  In my experience, the outside of the waffle might look a bit "overdone," but you want the inside cooked fully (raw cornbread batter is icky).
  6. Serve nice and hot, ideally with more melted butter if you're feeling decadent.  

I love savoury/sweet combos, so I stuck with syrup and added a side of thick-cut peppercorn bacon (thank you, President's Choice!!)  Paired that with a cup of freshly-ground vanilla hazelnut coffee (thank you, Costco!!), and G-man and I had a lovely breakfast together (his consisted mostly of a kiwifruit, banana, and grapes, but he got some waffle and bacon love too!)  A great way to start off what will hopefully be a fantastic year!


Bidding you all good eating in 2015,

-Honeybee

Thursday, March 8, 2012

Sunday Dinner Series Part VI: Totally Non-Polish Perogies


Hooray for the iPhone!! Without it, I'd be very bored sitting here in the Winnipeg airport without my library eBooks, Facebook, email, Skype, Words with Friends, etc etc. and now Blogger!! Hooray! Flight delay entertainment? There's an app for that!

Perogies are a big thing in Winnipeg. I've been good-naturedly teased about buying frozen Cheemos from Superstore when there are so many great local, handmade offerings. These pillowy pockets seem to be a staple at big family meals here, even if there isn't a drop of Eastern European blood sitting around the table.

Despite defending my frozen, mass produced varieties, I felt the need to see if I could make a decent perogies from scratch (and nobody criticize my spelling... This is how I've ALWAYS spelled it. You people and your kubasa... I'll never understand). Turns out, I can!! I got the recipe here.

I did doctor the filling somewhat, keeping Hubs in mind. I added a seeded, chopped jalapeño when cooking the onions. I also fried, cooled and chopped some top-of-the-line PC double-smoked bacon. Heaven, people.

I will admit, all the hassle didn't seem worth it in the beginning. I had a hard time rolling the dough to a consistent thickness, so some were more doughy than others. Also, the dough seemed a bit tough (not tender and pillowy) the first time around. This actually improved after freezing... I stored a batch and cooked them later in the week and was much happier.

So would I do it again? Meh, maybe, if only to fool around with the filling some more. Otherwise, how can you beat a jumbo variety pack on sale for $3.99??

Feeling her Winnipeg (and food blogger) cred slipping away,
-Honeybee

Saturday, January 28, 2012

Sunday Dinner Series Part IV: Hot Diggity Clam!

There seems to be a direct relationship between the number of parts in this series and the lameness of the title puns.  But we soldier on!

In case I've never clearly laid it out before, I'm Italian on my mother's side (Nonna and Nonno immigrated to Canada in the early 1950s, I believe), and French and Irish on my father's side.  It's been at least seven generations since my ancestors left, however, so I was never really exposed to many "traditional" French or Irish dishes in my formative years (though my sister Sar got her fill of the latter over the past little while... mmm, pudding and Irish breakfast).  Regardless, there are still certain meals that I associate with my paternal family and tradition.  One of these was New England clam chowder and freshly-baked biscuits.

As a kid, I wasn't in love with eating soup containing bivalves.  But as my palate has matured, I can't help but look back and think of how much I missed as a child, eating Lipton or Campbell's chicken soup while the adults feasted on THIS.

I'd still eat the biscuits, of course.
Many years have passed, and I'm now married to a wonderful man who loves shellfish of any sort.  I can't remember the first time I made this for him... it might have been a joint effort with my lovely friend Kimmi (her hubs also loves clam chowder... you should've seen how happy he was when he found it at a Chinese buffet!)  At any rate, he is an avid fan of my mom's old standby recipe for chowder and biscuits.  It's a delicious meal, to be sure... and it also has enough fat to nicely round you out and keep the cold Winnipeg winds out of your bones!  Ah well, it was never a weekly thing anyway... just a nice hearty "special occasion, Grandma and Grandpa are coming over to play bridge!" meal.

In the making!
Ready for its close-up.
New England Clam Chowder
Adapted slightly from the Women's Day Encyclopedia of Cookery (circa 1970, I think...)

Makes about 3 quarts, says the recipe... about 12 cups, says I.  It'll feed 6 people well.
  • 3 cans (10.5 oz each) minced clams
  • Water
  • 1/2 lb bacon, diced
  • 1 large white onion, chopped
  • 3 cups diced raw potato (I usually use red potatoes and leave the skins on)
  • 1 tsp salt
  • 1/2 tsp ground pepper
  • 4 cups (1 L) homogenized milk (3.25% milk fat, I believe)
  • 2 Tbsp butter
  • Paprika
  1.  Strain canned clams and reserve the liquid.
  2. Measure clam liquid; add water to top up to 4 cups.
  3. Fry bacon in a large pot until golden and crisp.  Remove and drain on paper towels and reserve.
  4. Drain off bacon fat, leaving behind about a 1/4 cup.  Add onion and sauté for 5 minutes.
  5. Add potato, salt, pepper, and clam liquid.  Simmer until potatoes are tender.
  6. Add clams, milk, and butter.  Reheat but do not boil.
  7. Top with crisp bacon and sprinkle with paprika.  Serve with biscuits.
Seriously, do as I say and serve with biscuits.
Biscuits: all the cool kids are doing it!
Cloud Biscuits
Courtesy of our honourary Aunt Kim, from out East (that's how you know they're legit)

Makes about a dozen regular-sized biscuits... only six if you make massive square ones like I did.
  • 2 cups all-purpose flour, sifted
  • 1 Tbsp sugar (increase to 1/2 cup sugar for sweeter biscuits worthy of strawberry shortcake)
  • 4 tsp baking powder
  • 1/2 tsp salt
  • 1/2 cup vegetable shortening (you can use lard, if you have some that needs using... ;))
  • 1 egg, beaten
  • 2/3 cup milk
  • Optional: 1/2 cup shredded cheddar cheese and/or 2 green onions, trimmed and sliced finely
  1. Preheat oven to 350ºF.
  2. Sift together dry ingredients; cut in shortening until mixture resembles coarse crumbs (a pastry blender, fork, or two butter knives works well here).
  3. Combine egg and milk; add to flour mixture all at once.  Stir.
  4. Add "optional extras" if using.  Stir until dough follows the fork around the bowl (i.e. until just combined).
  5. Pat or roll dough out on lightly floured surface until about 1/2 inch thick.  Dip a biscuit cutter into flour and cut straight down into the dough.  Put biscuits onto a baking sheet sprayed with non-stick spray.
  6. Bake on the middle rack of the oven for about 8-12 minutes.  Keep an eye on them-- you might need to use a spatula to lift them up and see how dark the bottoms are getting.  They should be a good golden-brown- not too light, but not burnt either (I've been guilty of this).  The tops should look dry, with no wet uncooked dough in evidence.
  7. Cool slightly (if you can wait that long) and serve warm.
Note the colour of the bottoms!
Nom nom nom.  Good for a Sunday dinner, plus lunch AND repeat dinner on Monday! Yes, I baked fresh biscuits the next day... they really don't take long to come together!
Sorry for the blurriness... I think this is about the last of my Cannon photography.  From here on out, I'll mostly be using my iPhone 4 camera-- it does a FANTASTIC job of taking food shots!

Now, if you've made it with me this far and are still thinking, "Ugh, clams... can't do it, Honeybee, sorry!" then I have a good modification for you.  Instead of three cans of clams, try using three cans of tuna packed in water instead.  You can even reserve the tuna liquid in the same way as the clam liquid; just make sure to test for saltiness before you add more salt in step 5.  Even if you're still against the whole seafood thing (I'm looking at you, Sher), you can make this without the fish.  Try using chicken stock in place of the fish juice + water, and add more potatoes for a lovely bacon potato chowder.  Maybe add some corn to the mix.  It's versatile!  Even better, it will warm you up from head to toe as the mercury (or more accurately these days, coloured alcohol) drops!

Off to curl up with her Nonna blanket while reminiscing about dinners with Grandma and Grandpa,
-Honeybee


P.S.- This trip down memory lane seems like a great opportunity to show off one of my favourite shots from the wedding:
My seesters, helping me put on Grandma's pearls for the big day... but what's that?  The clam chowder aficionados are watching over us, just to the right of my shoulder!  Cute little Easter egg... funny the details you notice after the fact!  Also funny how something as simple as chowder can remind you of loved ones and simpler times.  Miss you, Grandma and Grandpa!

Sunday, October 23, 2011

Sunday Dinner Series Part II: Not My Nonna's Gnocchi

Try saying that ten times fast!

A few weeks ago, I decided to make good on a promise I'd made Deb.  She very graciously agreed to look after our kitties in the summer while we were back in Ontario gettin' hitched... despite her pet hair allergies (uh-oh).  I honestly don't remember how we got on the topic of sweet potato gnocchi, but we did, and Deb said she wanted to try it.  So as a (belated) thank-you for watching the quadrupedal fur children, I started Googling my way to a decent-looking recipe.

I succeeded in my search.
Now, I've made gnocchi before.  Many times.  But I was VERY wary as to how this version (courtesy of, unsurprisingly, Allrecipes.com) would turn out.  My mother and I share a similar stumbling block when it comes to these "little knees" (yes, that's what gnocchi means if translated literally).  Soft, sticky dough is the bane of our existence.  It's a balancing act: add too little flour and the dough becomes nigh impossible to handle and roll into the eponymous shape.  Add too much, and you end up nomming on leaden, tough dumplings once cooked.  Not good eats, either way.  I figured, with the difference in texture and moisture content between regular potatoes and the sweet variety, I could be in for a troubling time.

Pretty, fall-appropriate little orange darlings.
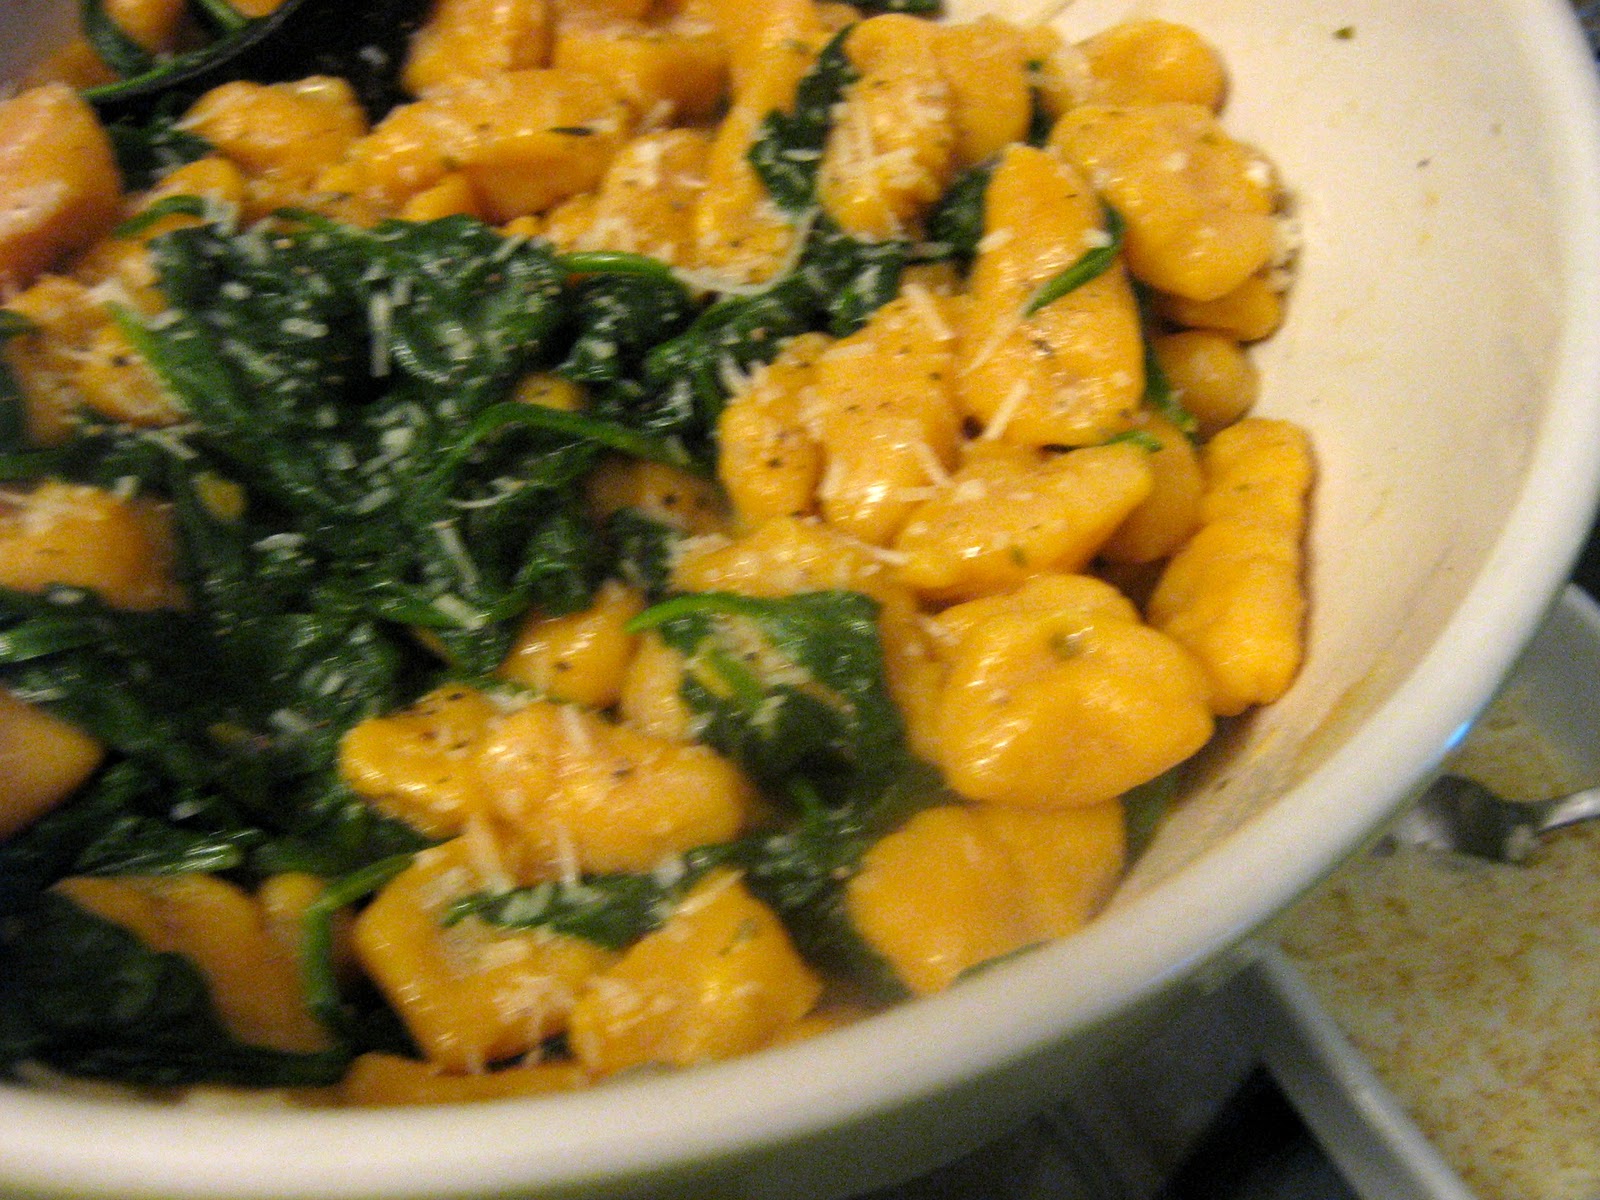
I was correct in my prediction, to a point.  After seeing all the caramelized, sugary juices that resulted from roasting my (massive!) sweet potato, I wondered if I might be able to get away with just a little more flour than the recipe called for.  Chilling the dough a bit also helped.  In the end, they were nice and tender, with a very distinct sweet potato colour and flavour.  I decided to dress them with a white wine butter sauce that I modified from the interwebs.  I also tossed the hot noodles and sauce with baby spinach leaves, that just wilted into the whole dish (read: I was too lazy to make a salad, so I tried to get veg in another way).  Add some shredded romano cheese, and the result was, as RR would say, "Yum-o".  Even better the next day as lunch leftovers, let me tell ya... though my coworkers were wondering what on earth I was eating.


Sweet Potato Gnocchi Florentino with White Wine Sauce
Adapted from here and here.  I love Google!

Serves four generously... we were definitely hungry!

Gnocchi:
  • 2 average-sized sweet potatoes (half a pound or 8 oz.  I weighed the massive one I had in the pantry, and it was close enough)
  • 3 cloves of garlic, minced or put through a garlic press
  • 1/2 tsp salt
  • 1/2 tsp nutmeg (don't skip this, it really adds something!)
  • 1 egg
  • 2 to 2 1/2 cups all purpose flour (Nonna typically uses cake flour for hers, but I think AP is best here)
  • 1 bag (~170 g or 6 oz) pre-washed baby spinach
  • Shredded romano, parmesan, or asiago cheese
Sauce:
  • 5 Tbsp (just over 1/4 cup) unsalted butter, cut into pieces
  • 1/2 of a small onion, minced
  • 1/4 tsp salt
  • 1/4 tsp pepper
  • 1 tsp chopped fresh parsley (I used my freeze-dried stuff with no ill effects)
  • 1/4 tsp dried basil
  • 1/4 tsp dried thyme
  • 1 3/4 cup chicken broth (not gonna lie, I only had OXO bouillon packets on hand...)
  • 1/2 cup white wine
  1. Preheat the oven to 350 degrees F (175 degrees C). Bake sweet potatoes for 30 minutes, or until soft to the touch. Remove from the oven, and set aside to cool.
  2. Once the potatoes are cool enough to work with, remove the peels.  Mash them, or press them through a ricer into a large bowl. Blend in the garlic, salt, nutmeg, and egg. 
  3. Mix in the flour a little at a time until you have a soft dough. Use more or less flour as needed.  It should be only a TINY bit sticky.
  4. Bring a large pot of salted water to a boil. 
  5. While you wait for the water, make the gnocchi. On a floured surface, roll the dough out to about 1 cm or ~1/2 inch thickness.  Cut strips of dough about 1 cm or ~1/2 inch wide.  Lightly flour the cut sides of the strips.  Now cut the strips into cubes, again about 1 cm or ~1/2 inch wide.  You don't have to be precise.
  6. Roll the cubes of dough along the tines of a dinner fork, pressing with your index and middle finger to create an indent.  If this makes no sense to you at all, try watching this:
     

    Alternatively, you can just put the unrolled cubes into the water... but I'll be disappointed.
  7. Drop the gnocchi into the boiling water, and allow them to cook until they float to the surface. Remove the floating pieces with a slotted spoon, and keep warm in a large serving bowl.  Toss the hot noodles with the fresh spinach, covering the bowl with a lid or plate to trap the heat and wilt the leaves.
  8. For the sauce, heat 1 Tbsp of butter in a medium saucepan over medium high heat.  Add the minced onion, parsley, basil, and thyme. Stir frequently and cook for about 1 minute. Add the salt and white pepper and stir.
  9. Add the white wine and bring to a boil; turn the heat down to a simmer and reduce the liquid by half.
  10. Add the chicken stock and again bring to a boil, turning down the heat once the boiling point is reached and reducing the liquid by half.  This should take about 7-10 minutes.
  11. Add the remaining 4 Tbsp butter a few pieces at a time, while constantly whisking the sauce to thoroughly incorporate the butter.  Check for seasoning.
  12. Immediately toss the sauce with the gnocchi in the serving bowl.  Top with a generous sprinkling of cheese.
  13. Enjoy hot with some white wine and good friends!

Not the greatest pictures, but I was too hungry to perfect a shot!!
Overall, I'm quite pleased with how these turned out, and I'll definitely be making them again.  Maybe, if I pluck up enough courage, I'll make them for Nonna and see what she thinks!

Off to put the finishing touches on THIS Sunday's dinner,
-Honeybee

Sunday, October 2, 2011

Apples to apples


I suffered one of life's disappointments this past week.  One of those that makes you question your confidence and competence.  So what did I do?  Turned to the pots, pans, and a stick of butter for solace (after assuring my mother that I find no comfort at the bottom of a bottle...)

The harvest season is most definitely upon us.  The weather let up by giving us some nice temperatures this weekend, but there's no turning the leaves back to green.  Speaking of, my coworker's apple tree seems to have produced a bumper crop of tiny, tart little apples that she brought to work to share.

So cute and little!!  Maybe 5 cm in diameter, at best.
I had tempted poor Hubs with the idea of an apple pancake yesterday, but wound up feeling too tired and out of sorts to pull it off (instead, we grabbed stuff from 7-Eleven on our walk back from my dentist appointment, and he had his first Winnipeg Slurpee!  A milestone!!)  I felt it would be cruel to not deliver the promised pancake today.  I decided to get a little fancier than usual, though.  Typically I just chop up apples and mix the pieces into typical pancake batter.  Today, I decided to recreate a tasty treat I tried at the famous Pancake House chain... the German apple pancake.

Apples cooking in caramelized spiced sugar and butter.
One big pancake for two, comin' up!  It's an 11" pan, to give you a frame of reference.
Close up goodness- crispy-but-fluffy batter, soft apples, and lots of sugar, spice and all things nice.  I know, I'm terrible.
It's basically a pancake started by cooking apples in butter, sugar, cinnamon, and nutmeg on the stovetop (how can you go wrong?!), adding a rather eggy, runny batter, and baking in a hot oven.  A bit more prep time than what my usual apple pancakes require, but SO worth it in the end.  Allrecipes.com has become one of my new best friends for inspiration, and they didn't let me down here!  Plus, it gave me an excuse to test-drive my new ovenproof skillet.  And I didn't burn my hands once!  Hurray!

Yes, I use President's Choice 15% real maple syrup table syrup.  Sorry for all you out there who think Canadians drink maple syrup by the litre... but I find the commercial varieties, while delicious, to be too runny (and too expensive) for my liking.  This is the best of both worlds for me.  Don't judge.
The next order of business was to use up some apples that have languished in my crisper for too long to be eaten out of hand.  They were Royal Galas, which my chem teacher once referred to as, "The dessert apple".  How could I interfere with that destiny??  Plus, I had yet to use my fluted tart pan for an actual tart (I've used it for something else, but I'll post that another time).


My other new friend in the online recipe world is joyofbaking.com.  Now, I don't consider myself a beginner when it comes to baking, but there's something reassuring about seeing a recipe with an accompanying how-to video.  Sort of makes the whole process seem idiot-proof.  That was the case for this cream cheese apple tart with a shortbread crust base.  I wanted something to accompany the pumpkin pie ice cream I whipped up at Hubs' behest (recipe pending!)  How often does that happen?  Requesting an ice cream, then making the dessert to match it?


Please excuse my messy stovetop.  It's clean now, I promise!
Overall, I'd say both of these were a success.  I thought Hubs might enjoy the cheesecake-like filling for the tart; turns out I was right.  It was a great dessert to finish of a meal with our dear friend Deb while watching Netflix and drinking more wine than is probably recommended on a "work night".  Oops.

Planning to extend the harvest baking theme to a pumpkin-fest for next weekend (Canadian Thanksgiving, yay!),
-Honeybee

Sunday, September 18, 2011

"Tour de Winnipeg"

Just a couple of weeks before The Big Day, I had a lovely visit from my dear friend Andrea and her hubs, Colin.  They were on their own blog-worthy journey: a cross-country move from B.C. back to Ontario, visiting friends along the way.  I was lucky enough to be one of them!  So, I acted as a "Winnipeg Ambassador" and took the lovely couple to the Forks after a delicious meal.

On the pedestrian bridge at the Forks.
Since Andrea and Colin were here for just one night only, I wanted to showcase as much of the culinary diversity of the city as I could.  So, I devised the following menu:
And here's how I pulled it off!


Getting ingredients ready for the pickerel almondine...
Look at those gorgeous filets, thanks to the Gimli Fish Market.  I could link to the recipe, but it was pretty simple: I put the filet on top of a "bed" of sliced red onions and lemon wheels.  Top with paprika, thyme, salt, pepper, green onion, basil, slivered almonds, and dot with butter.  Wrap and bake.
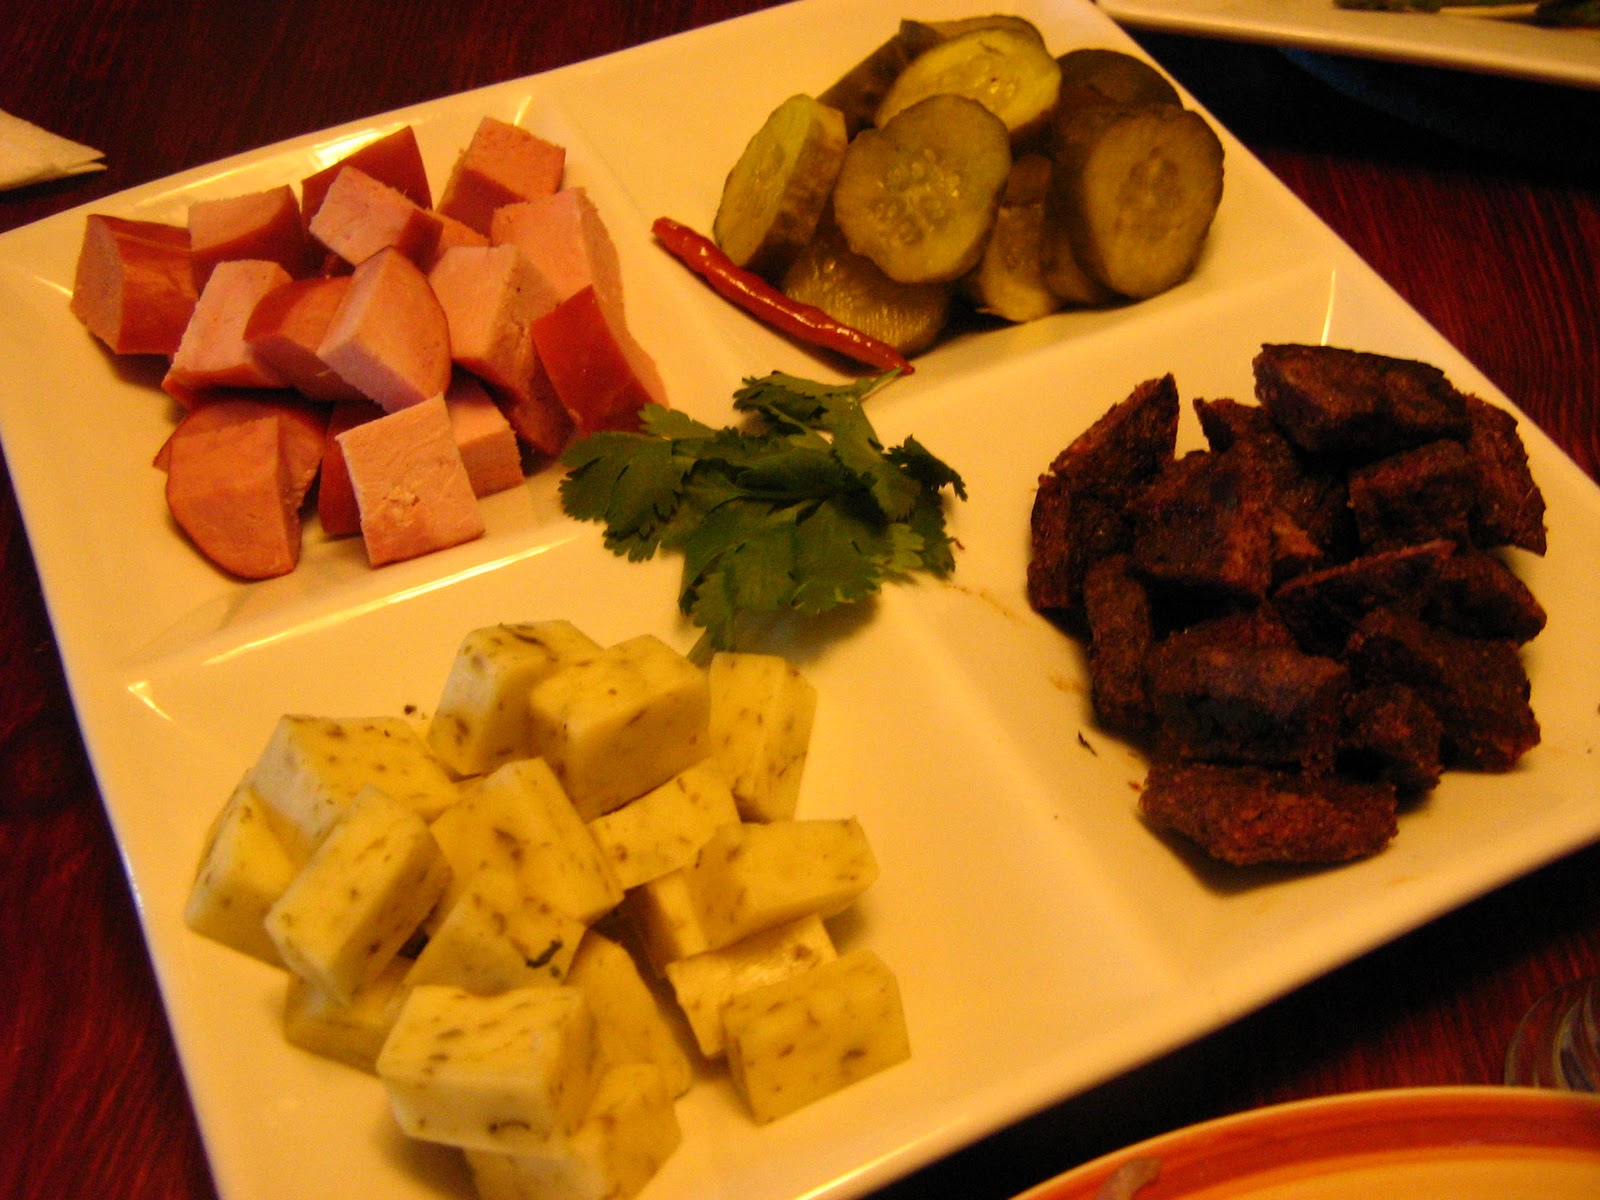
The appetizer: kubasa, pickels, bison burgers, and Bothwell cheese.  Mmm.  I put a hoisin sauce glaze on the burgers as a nod towards Chinatown down on King street.  Colin seemed to really like it!!
Finished fish!  Loosely based on this recipe.  For all you Americans, yes, pickerel = walleye.
Asparagus with goma (sesame) dressing.  I fell in love with this after Deb introduced me to maguro goma-ae, a tuna and avocado salad at her favourite sushi place, Naru.  I found a recipe for it here, and used it to symbolize all the Japanese restaurants in the city (even if they're mostly owned and operated by lovely Koreans...)
Red velvet cupcakes.  What more can I say.  You're all familiar with my recipe, but I made them mini this time.  Portion control!!
Cinnamon buns from Stellas.  Calm down... yes, I know they're not from Tall Grass Prairie.  But honestly, I was at Stella'a already buying some focaccia to represent Little Italy on Corydon, so I just picked them up there.  They were QUITE delish.
Overall, I must say, I was rather pleased with the whole event.  Andrea and Colin are so sweet that they sent me some Irish breakfast tea as a thank you for hosting them (Andrea is an incredibly thoughtful person and also likes to send gifts by mail frequently.  I most recently got this awesome Ravenclaw laptop case from her!!  Isn't she fantastic??)

I always love when people come to visit and see this life I've built for myself out here in the Prairies.  It reminds me that, even though my friends might USUALLY be far away, they're still willing to take the time and see what I'm up to.  It was so much fun having this fantastic couple over... and set the stage for me to develop a "five-point Winnipeg tour" for my parents when they visited!  There was lots of good food involved there, too, including a trip to Fude in the Village... but I digress.

Wondering what the best way might be to tackle the quintessential Manitoba beet,
-Honeybee